
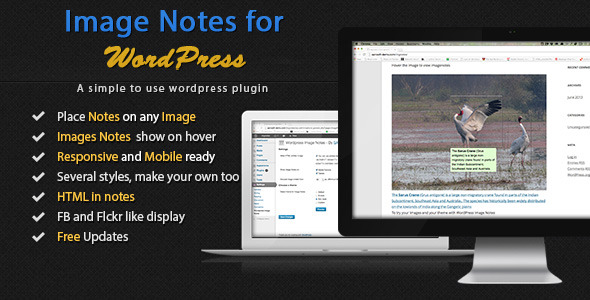

Image Notes for WordPress is a plugin to add notes on images. It is similar to tagging in Facebook or Flickr. Use this plugin to tag your friends in your post, Label important areas of an image, add explanations over a chart, List out recipie ingredients in an image
Features
- Select an area on any image and add notes
- Images Notes appear when user hovers mouse over image
- Generate a list of tags or notes below the image as seen on FB
- Will work with any post type or even on pages
- Easy options to edit or delete notes
- Option to show or hide taglist
- Different View for desktop and mobile devices
- The postion and size of the notes is Responsive and will adjust according to image size
- Setting to allow html tags in notes (html formatting supported)
- Setting to show or hide notes on tablet and mobile devices
- Setting to apply default themes or create a custom theme for image notes
- Instant preview of the selected or created theme before saving
- Well supported with free updates
Installation
Once you have downloaded the zip file from Code Canyon extract the contents to a folder of your choice. Chances are if you are reading this you have already done that. Find the file called ImgNotes.zip. This is the plugin file. You can upload this file from your WordPress Admin
- Go to Plugins > Add New
- Select Upload
- Upload the ImgNotes.zip file
- Activate the plugin
- Go to Settings > WordPress Image Notes
- Set the options as per your liking
Alternatively you can manually install the plugin by following the instructions given here.
Usage
Adding a new note
- Images notes are added from the user side. That is the pages which users see and NOT from admin dashboard.
- Once you are done with editing and publishing your post. Go to view post page
- Hover the mouse the image you want to add notes on, Add Note icon will appear at the top left corner of image
- Click on Add Note icon on the top left corner of image, it will add a default area with a textarea, adjust it accordingly and add desired note.
- Alternatively just click and drag over the image, it will create an area of minimum 50*50 px dimension adjust area as per requirement and add note


Editing/Deleting a note
- Click on Note area to be edited/deleted, edit delete icon will appear on the top left corner of the selected area.
- Click on edit icon, edit mode will enable. Adjust the area or change the note and save
- Click on delete icon to delete a note


Toggling tags
- Click on Toggle note tags icon (next to Add Note icon) to toggle tags.
- Tags toggled off will not be shown in the user side.


Adding custom CSS
- Go to Settings > Image Notes
- Choose option custom in section Choose a Theme, two new sections will appear
- Click on checkbox I want to add my custom css in section I know what i am doing and add custom css in the text area. Do not wrap css with <script> tag as it will be automatically appended
- Use classes defined for styling (.imgnotes-note, .inner-div, .imgnotes-notep)
- Check preview before saving. If anything goes wrong cross check css. Make sure checkbox is checked


Important Note – top
- Plugin removes relative positioning of body. This may cause alignment issue in some themes, so please check your theme in our demo site before buying if you have a doubt
- Only administrator can create or modify Notes. All other users can view notes
- Notes creation and modification is available for Desktops only. Tablets and mobile devices can only view notes
