CFM Plugin allows you to add custom fields functionality for comments by a single click.
You can edit the settings for plugin by a plugin setting page, which can be found in the left menu with the name “CFM Plugin” in the admin.
The “Website” field on the comment form on frontend can be easily disabled by the CFM Plugin with simple “ON / OFF” switch.
You can add multiple custom fields into the comment form.
After adding the fields from the backend if you want to change the position for the fields you can do it easily by simple sorting drag & drop.
The following are the fields those can be added by the CFM Plugin.
Functionality:
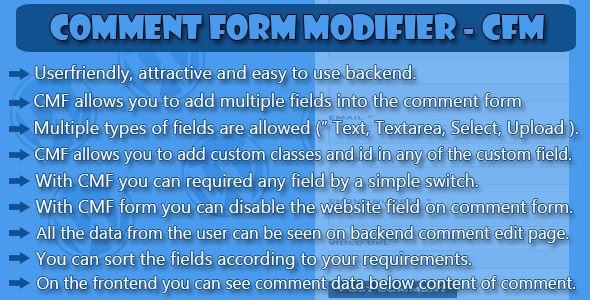
- Userfriendly, attractive and easy to use backend.
- CFM allows you to add multiple fields into the comment form.
- Multiple types of fields are allowed ( “TEXT, TEXTAREA, SELECT, UPLOAD” ).
- CFM allows you to add custom classes and ids in any of the custom fields.
- You can make “required” any field by a simple “ON / OFF” Switch.
- Witch CFM you can disable the “Website” field on comment form.
- All the data from user can be seen on backend comment edit page.
- You can sort the fields according to your requirements by a simple drag & drop.
- On frontend you can see the comment data filled by user on custom fields below content of comment.
Install the Plugin:
Installing CFM Plugin is simple. You have two options :
Via FTP: Unzip the ‘CFM Plugin’ folder and upload it into the wp-content/plugins folder.
Via WordPress: Login to your WordPress site Navigate to Plugins > Add New> Upload and upload the zipped up ‘CFM Plugin’ folder.
Activate VLR Posts plugin
Now that you’ve installed the plugin, you need to activate it. Go to Plugins > Installed Plugins and click ‘Activate’ under the CFM Plugin.

