Launchpress: Upcoming Site Launch WP Plugin
Your First Followers Matter.
Launchpress is a wordpress plugin that helps you with your upcoming product or website launch. Unlike 99% of the wordpress themes out there, which uses a 3rd party Subscription Form (like Feedburner), Launchpress allows you to capture visitor’s email and store it in your own database.
And once you’re ready to go live or release the new product, simply export the Subscriber List as CSV and use any email manager like MailChimp, Aweber or Campaign Monitor to shoot out your early-bird promo code or the ‘We are live’ mailer.
Whether you’re planning on starting a brand new site or bringing out something new on your existing one, Launchpress is for you. Because Your First Followers Matter.
Features
- Uses Double Opt-in (Confirmed Opt-in) mechanism, proven for fighting spam
- Lets you manually add subscribers from the WP Admin backend
- Customizable verification email template with variables replacement
- CSV Data Export makes it easy to export your subscribers-list to Email Marketing Managers like MailChimp, AWeber, Campaign Monitor, HubSpot, SendGrid Marketing, ActiveCampaign, GetResponse, ConvertKit, Constant Contact, Drip etc. with ease
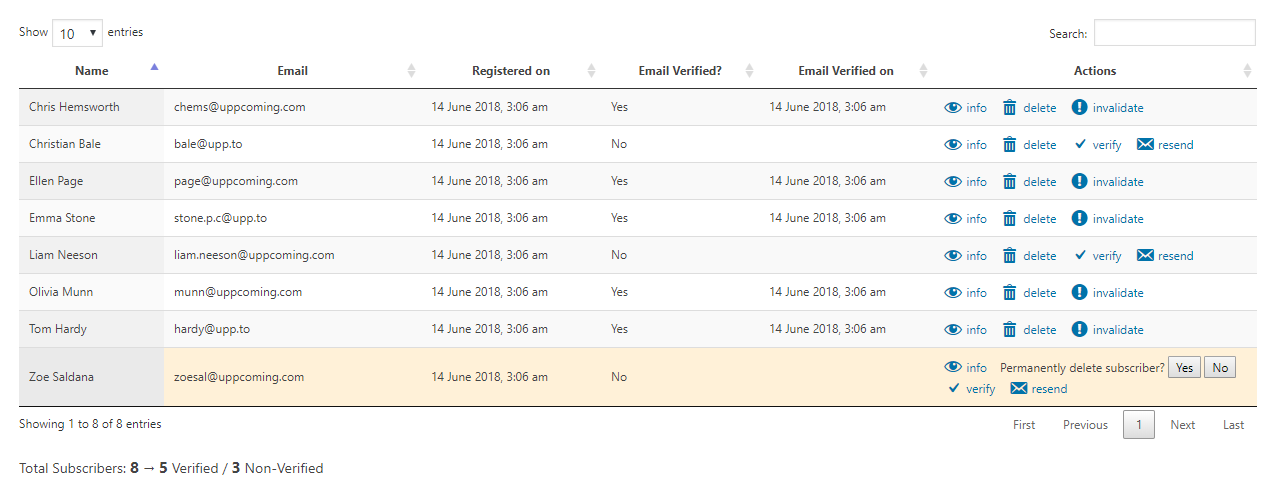
- Subscriber List is paginated, searchable and sortable (dataTables)
- Options to resend verification email and manually confirm/remove subscribers
- Optional automatic injection of Subscription Form to beginning/end of a wordpress post or page
- Easily insert the form anywhere in your posts with the
[launchpress]shortcode or in your themes with the
<?php if(function_exists('launchpress')) launchpress(); ?>function call - Simple and independent landing page for email verification
- Stores data on a separate database table, keeping wordpress’ tables intact
- Can be uninstalled completely without leaving any trace of unwanted data behind
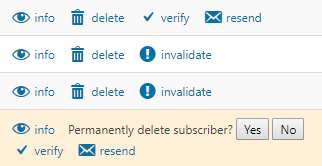
- Inline-confirmation for core operations, for preventing accidental clicks on critical links
- Keen focus on UI and UX
- To make things even sweeter, an awesome minimal coming-soon WordPress theme is also included in the package! (See Screenshots)
Installing Launchpress
Important Note
Do not upload the downloaded file launchpress_files.zip as-is to your WordPress installation. Extract it locally and then:
- Upload plugin
plugin_launchpress.zipfrom Plugins > Add New > Upload Plugin - Upload theme
theme_yacst_launchpress.zipfrom Appearance > Themes > Add New > Upload Theme
Using Launchpress
Inserting Launchpress Subscription Form In Your Posts
Automatically
Launchpress can automatically insert the Subscription Form in the beginning or end of each post (where the above shortcode is not present).
You just need to configure Launchpress to do so from Admin > Launchpress > Settings > Auto Insert Form.
Manually
You can include the shortcode [launchpress] anywhere within your posts (or <? if(function_exists('launchpress')) launchpress(); ?> in your themes) and it will be replaced with the fully-functional Launchpress Form.
[Sample] Launchpress used in a theme (YACST – Included with the plugin)

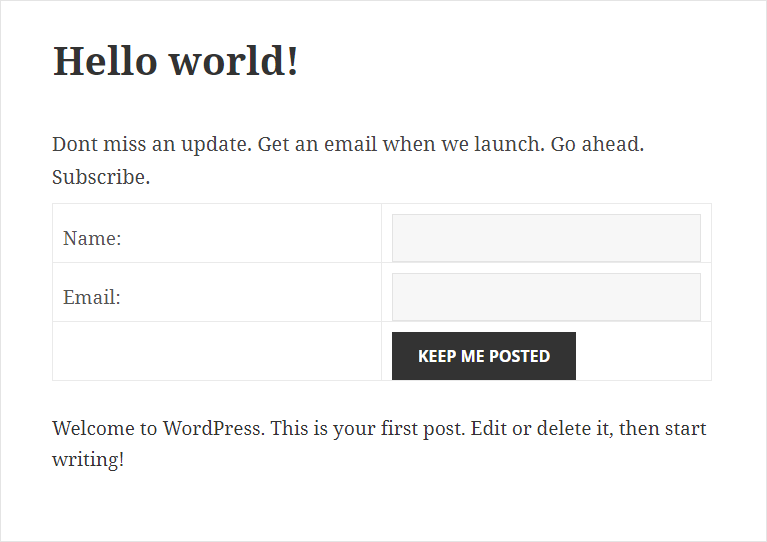
[Sample] Launchpress used in a blog post
Features
Once installed and activated, you can access all of Launchpress’ features via the admin menu.
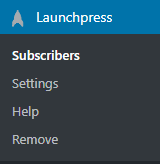
Subscribers
The Admin can do the following actions from the WP admin area:
- View Info
- Delete subscriber info (ref: Info Modal section)
- Manually Verify the subscriber
- Resend the verification email
- Invalidate a subscriber (user needs to click on the verification link again)
Actions
Table actions (listed above) come with inline confirmation to prevent accidental clicks
Subscribers Table
Search, sort, perform actions and view details
Info Modal
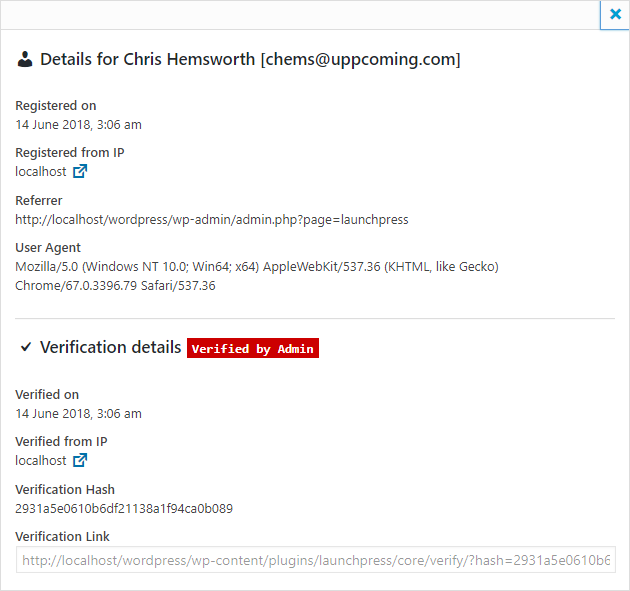
Clicking [info] from a subscriber row will show you all the details that has been captured for that user
Additional Notes:
- Clicking on the IP link will give more info about the subscriber’s IP address (country, city, lat/lng, timezone etc.)
- The Verification Link can be seen at the bottom. Clicking on this link will take the user to the standalone verification page. This is the same link that is sent to the user via email.
Adding a subscriber from the backend
You can do this via: Launchpress > Subscribers > Add a subscriber
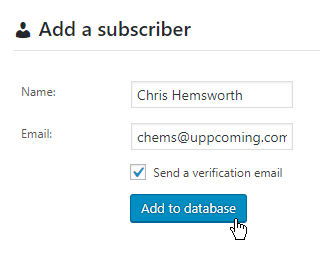
Sometimes, when the admin is adding the subscriber, you might not want to send out a verification mail to the email ID. In such a case, just uncheck ‘Send a verification email’.
Exporting data as CSV
Head to Launchpress > Subscribers > Export as CSV

This will generate a downloadable CSV file with a complete dump of the launchpress subscribers
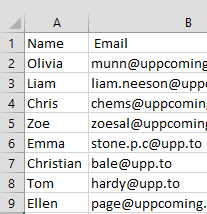
You can import this CSV into your marketing tool and start sending out mails.
Settings
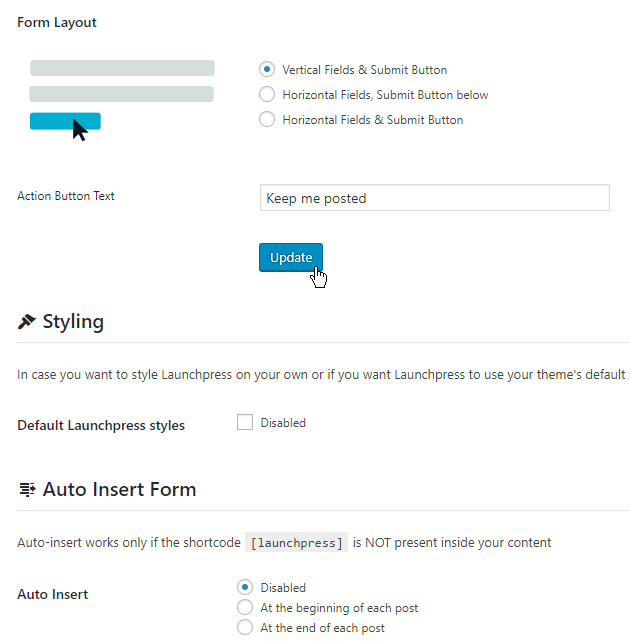
You can configure quite a few options and customize Launchpress for your WP installation.
- Form Settings (Text/Layout)
- Enable/Disable Launchpress’ CSS styles
- Enable/Disable auto-insert of Launchpress subscription form
- Email Settings (Sender name, email, subject, body, link text)
The options are self-explanatory.
Help
Help page has a basic guide, credits and links to a more detailed help file (this one)
Remove / Uninstall Launchpress
Launchpress can be uninstalled completely without leaving behind any traces in your WP db.
IMPORTANT: These operations are permanent and you will lose all data. MAKE SURE you have exported your subscribers list before doing any operations from this page

The Verification Page
For comfirmation of email IDs of a user, Launchpress uses a standalone Verification Page
URL: yourdomain.tld/wp-content/plugins/launchpress/core/verify/?hash={xyz}
This sent to the subscriber via email.
When the user clicks on the link, the following cases can occur:
- [1] First time the valid link is opened – subcriber’s email is verified
- [2] Next time onwards, an ‘already verified’ message appears
- [3] If the hash/security token is invalid, an ‘Invalid Hash’ message appears

Changelog
v2.0 ~ 15 June 2018
- Multiple forms support (most requested in v1.0 comments)
- Added support for capturing Subscriber IP, User Agent, Referrer
- Subscriber Info Modal: See all of the captured info of a subscriber
- Provision to find out if a subscriber was manually verified by Admin or by the user itself
- Provision for Admin to invalidate a user (user has to click email link again to verify)
- Rewrote most of the plugin, optimized for the latest versions of WordPress
- Updated UI/UX of the Admin Area with a clean, minimal design
- Updated standalone Subscriber Verification Page with a neat, minimal design
- Updated YACST Free theme to be in-line with modern standards (old one was 7 years old)
- Added ‘meta’ field to plugin db table for additional fields in the future (casted as a JSON store)
