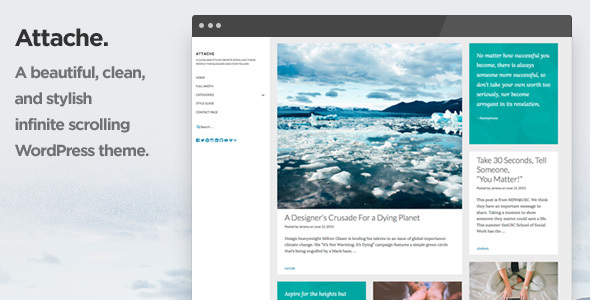
Blog / Magazine October 24, 2016alexNo Comments Attache Limitless Scrolling WordPress Theme (Wpblog / Journal) Live PreviewPurchase 75.00 Read More
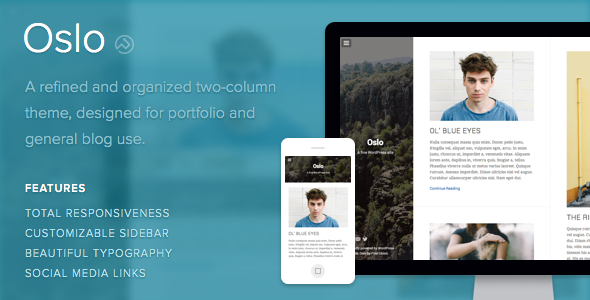
Blog / Magazine May 29, 2014May 29, 2014alexNo Comments Oslo (Blogging / Journal) Live PreviewPurchase 45.00 Read More