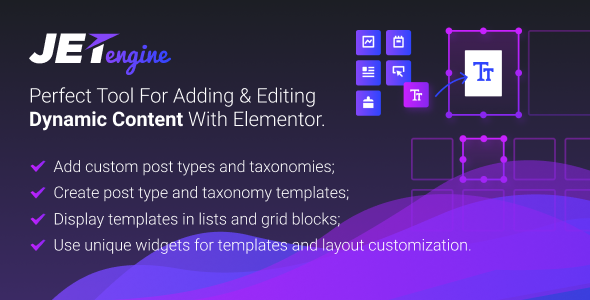
Add-ons August 13, 2018alexNo Comments JetEngine — Adding & Editing Dynamic Content with Elementor (Add-ons) Live PreviewPurchase 22.00 Read More
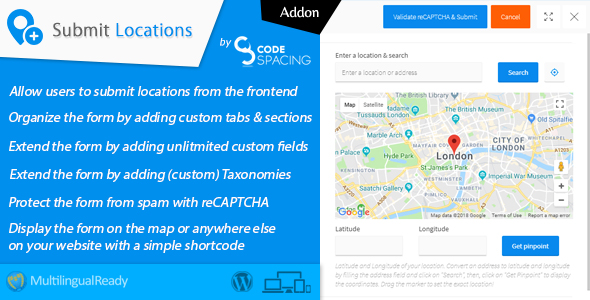
Add-ons May 30, 2018alexNo Comments Progress Map, Submit Location – WordPress Plugin (Add-ons) Live PreviewPurchase 36.00 Read More
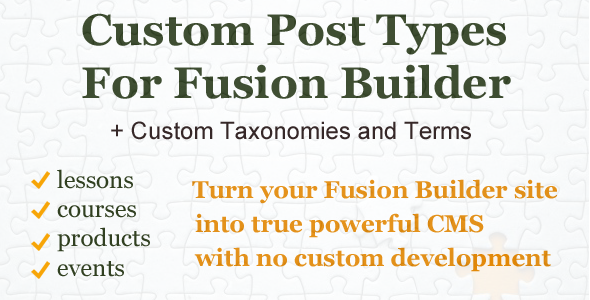
Add-ons April 7, 2016April 7, 2016alexNo Comments Customized Put up Sorts and Taxonomies for Fusion Builder (Add-ons) Live PreviewPurchase 16.00 Read More
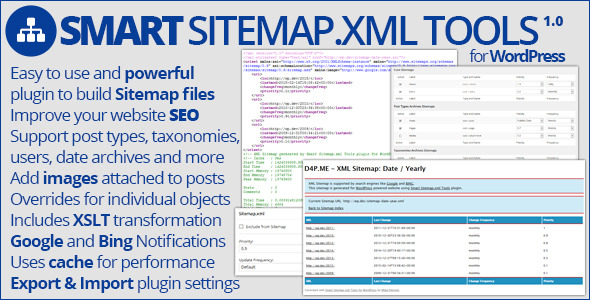
SEO February 22, 2015alexNo Comments Sensible Sitemap.xml Instruments (website positioning) Live PreviewPurchase 18.00 Read More
Utilities January 6, 2015January 6, 2015alexNo Comments Submit Classes through Person for WordPress (Utilities) Live PreviewPurchase 16.00 Read More
Utilities June 11, 2014June 11, 2014alexNo Comments wordpress Tremendous Search (Utilities) Live PreviewPurchase 13.00 Read More
Forms February 28, 2014February 28, 2014alexNo Comments Profi Search From – a Element Seek for WordPress (Types) Live PreviewPurchase 15.00 Read More
Utilities February 1, 2014February 1, 2014alexNo Comments Developed Customized Taxonomies (Utilities) Live PreviewPurchase 13.00 Read More