Add-ons February 26, 2015February 26, 2015alexNo Comments Subscribe & Obtain – Layered Popups Add-On (Add-ons) Live PreviewPurchase 6.00 Read More
Add-ons February 6, 2015February 6, 2015alexNo Comments Facet Tabs – Layered Popups Add-On (Add-ons) Live PreviewPurchase 3.00 Read More
Newsletters February 1, 2015February 1, 2015alexNo Comments Decide-In Panda for WP (Newsletters) Live PreviewPurchase 22.00 Read More
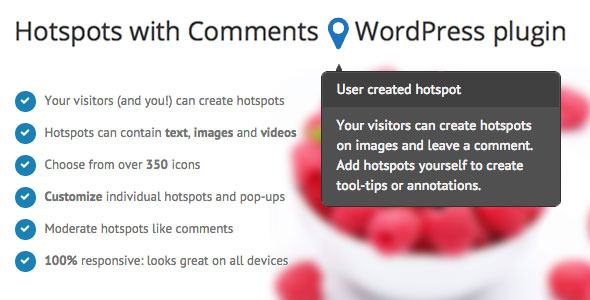
Media October 14, 2014October 14, 2014alexNo Comments Hotspots with Feedback – WordPress plugin (Media) Live PreviewPurchase 16.00 Read More
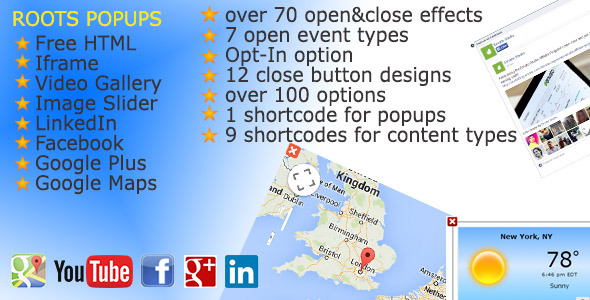
Utilities September 25, 2014September 25, 2014alexNo Comments Roots Popups (Utilities) Live PreviewPurchase 15.00 Read More
Add-ons May 7, 2014May 7, 2014alexNo Comments WordPress Highly effective Lightbox (Add-ons) Live PreviewPurchase 15.00 Read More
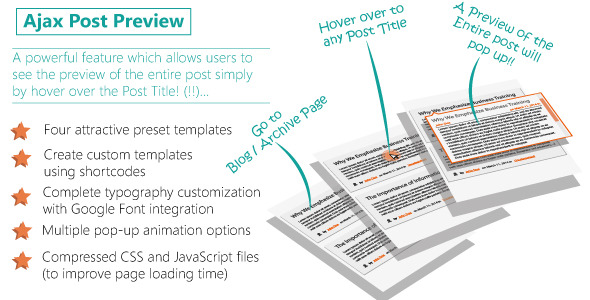
Utilities March 17, 2014March 17, 2014alexNo Comments Ajax Submit Preview (Utilities) Live PreviewPurchase 13.00 Read More
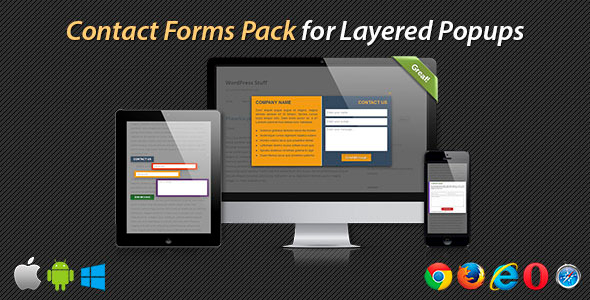
Add-ons February 24, 2014February 24, 2014alexNo Comments Contact Kinds Percent for Layered Popups (Add-ons) Live PreviewPurchase 2.00 Read More
Add-ons January 22, 2014January 22, 2014alexNo Comments Certainly Sensible PopUp (Add-ons) Live PreviewPurchase 15.00 Read More
Add-ons January 14, 2014January 14, 2014alexNo Comments Wintry weather Olympics % for Layered Popups (Add-ons) Live PreviewPurchase 2.00 Read More