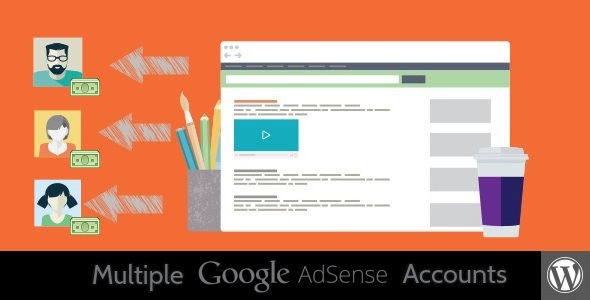
Advertising January 18, 2016January 18, 2016alexNo Comments A couple of Adsense Debts for WordPress (Promoting) Live PreviewPurchase 16.00 Read More
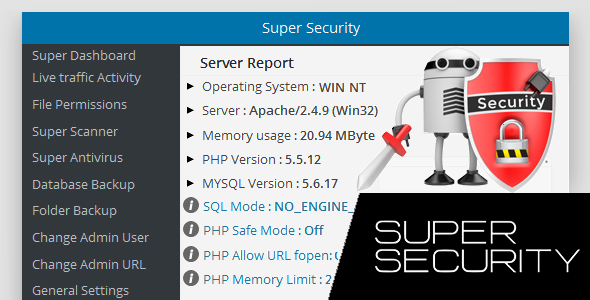
Utilities January 17, 2016alexNo Comments Tremendous Safety – All in One WordPress Safety (Utilities) Live PreviewPurchase 24.00 Read More
Miscellaneous January 14, 2016January 14, 2016alexNo Comments Twilio Straightforward Name Professional (Miscellaneous) Live PreviewPurchase 24.00 Read More
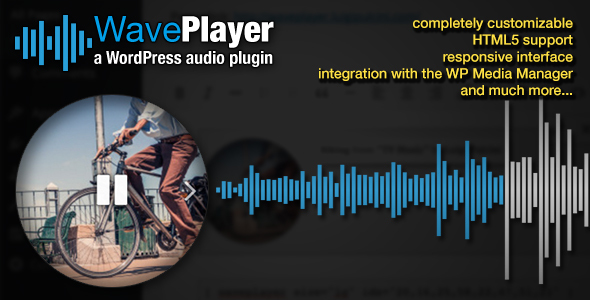
Media January 12, 2016January 12, 2016alexNo Comments WavePlayer – a WordPress audio plugin (Media) Live PreviewPurchase 16.00 Read More
Social networking January 12, 2016January 12, 2016alexNo Comments Popscroll: Social Popup Footer Field – Simply scroll down (Social Networking) Live PreviewPurchase 16.00 Read More
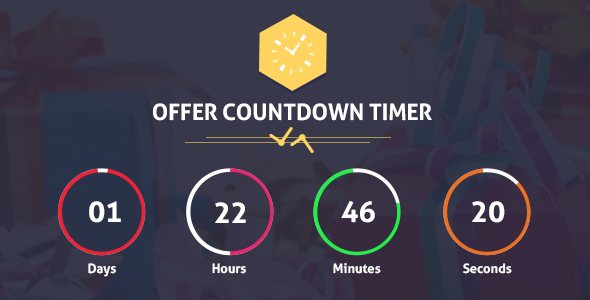
Advertising January 10, 2016January 10, 2016alexNo Comments Supply CountDown Timer Professional WordPress Plugin for Situations/Merchandise/Bargains (Promoting) Live PreviewPurchase 16.00 Read More
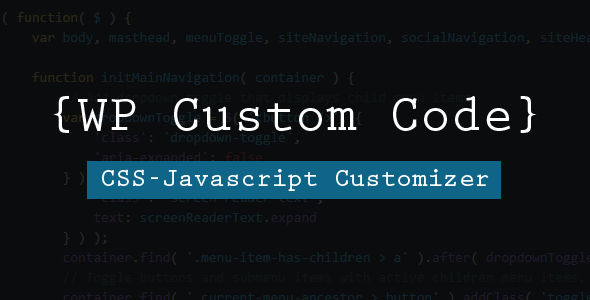
Utilities January 10, 2016January 10, 2016alexNo Comments WordPress Customized Code – Every other Script Customizer For Your Website online (Utilities) Live PreviewPurchase 19.00 Read More
Utilities January 8, 2016January 8, 2016alexNo Comments WPLiveDojo – Reside Experience Textual content Broadcast Plugin (Utilities) Live PreviewPurchase 28.00 Read More
Add-ons January 5, 2016January 5, 2016alexNo Comments VT Slick Carousel WordPress Plugin (Add-ons) Live PreviewPurchase 15.00 Read More
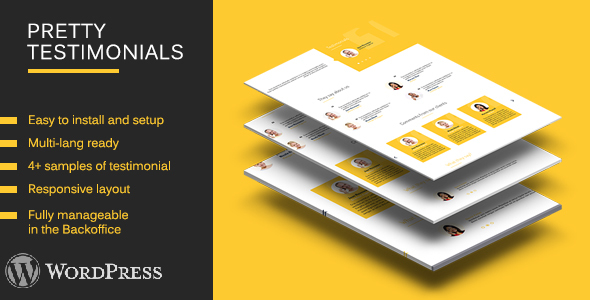
Miscellaneous December 30, 2015December 30, 2015alexNo Comments Lovely Testimonials – Testimony For WordPress (Miscellaneous) Live PreviewPurchase 16.00 Read More