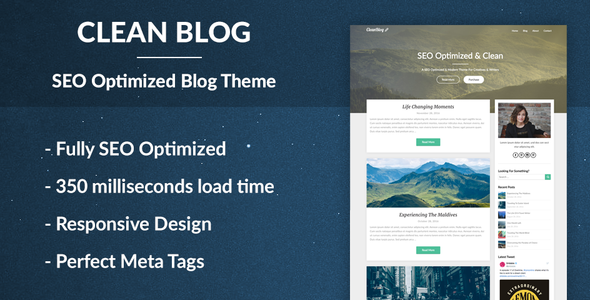
Blog / Magazine August 2, 2017August 2, 2017alexNo Comments Easy Blogging – search engine optimisation Optimized WordPress Theme (Weblog / Journal) Live PreviewPurchase 34.00 Read More
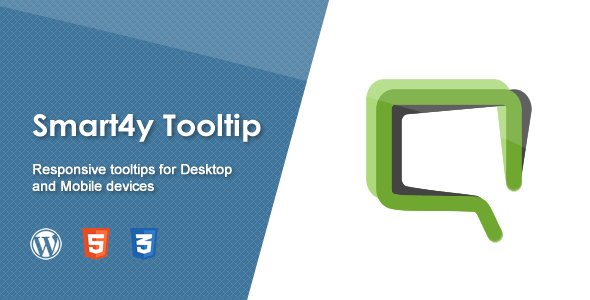
Interface Elements January 18, 2017January 18, 2017alexNo Comments Smart4y Tooltip (Interface Components) Live PreviewPurchase 14.00 Read More
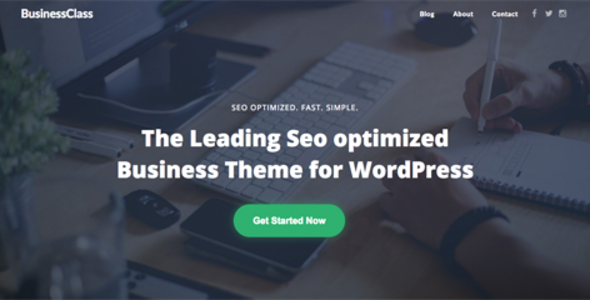
Corporate December 30, 2016December 30, 2016alexNo Comments BusinessClass – Search engine optimization Optimized & Web optimization Pleasant Company Industry Theme (Company) Live PreviewPurchase 56.00 Read More
Frameworks December 10, 2016December 10, 2016alexFrameworksNo Comments Cuora – App Touchdown Web page (Tool) Live PreviewPurchase 14.00 Read More
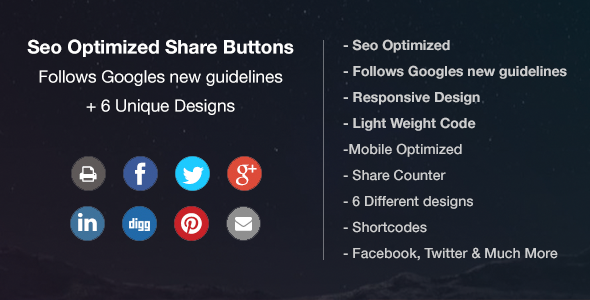
SEO December 7, 2016December 7, 2016alexSEONo Comments Website positioning Pleasant & Optimized Share buttons (search engine marketing) Live PreviewPurchase 10.00 Read More