Add-ons February 21, 2017February 21, 2017alexNo Comments Backend Reside Preview for Visible Composer (Add-ons) Live PreviewPurchase 11.00 Read More
Utilities March 8, 2016March 8, 2016alexNo Comments WordPress Header Customizer (Utilities) Live PreviewPurchase 22.00 Read More
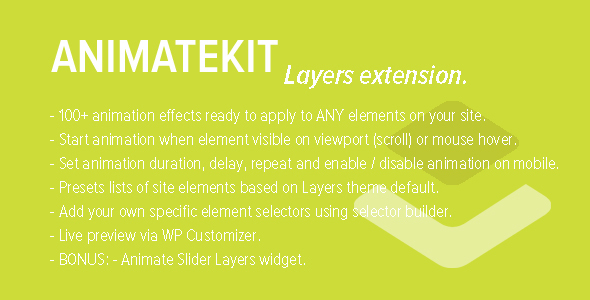
Add-ons October 25, 2015alexNo Comments AnimateKit – Animation Instruments for Layers (Add-ons) Live PreviewPurchase 17.00 Read More
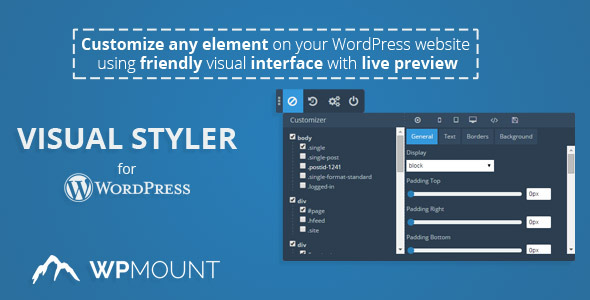
Utilities June 3, 2015alexNo Comments Visible Styler – customise your web site straightforward (Utilities) Live PreviewPurchase 25.00 Read More
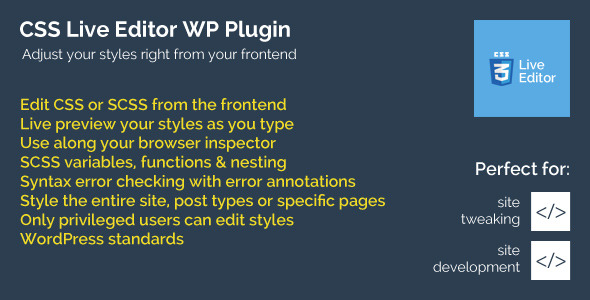
Add-ons November 15, 2014November 15, 2014alexNo Comments CSS Reside Editor WordPress Plugin (Add-ons) Live PreviewPurchase 16.00 Read More
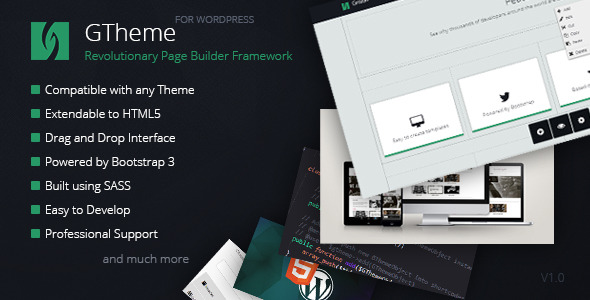
Utilities April 24, 2014April 24, 2014alexNo Comments GTheme – Progressive wordpress Web page Builder Framework (Utilities) Live PreviewPurchase 20.00 Read More
Utilities December 6, 2013December 6, 2013alexNo Comments Sexy Creator Field (Utilities) Live PreviewPurchase 12.00 Read More
Utilities December 6, 2013December 6, 2013alexNo Comments Horny Writer Field (Utilities) Live PreviewPurchase 12.00 Read More