SEO April 17, 2017April 17, 2017alexNo Comments Search Phrases Checklist WP Plugin (website positioning) Live PreviewPurchase 14.00 Read More
Advertising October 3, 2016October 3, 2016alexNo Comments WP Dynamic Key phrase Insertion (Merchandising) Live PreviewPurchase 21.00 Read More
Utilities September 30, 2016alexNo Comments Picture Core – WordPress Picture Processing Plugin (Utilities) Live PreviewPurchase 25.00 Read More
Utilities September 30, 2016September 30, 2016alexNo Comments Picture Core – WordPress Picture Processing Plugin (Utilities) Live PreviewPurchase 25.00 Read More
SEO June 7, 2016June 7, 2016alexNo Comments On-Web page search engine optimization Analyzer for wordpress (website positioning) Live PreviewPurchase 19.00 Read More
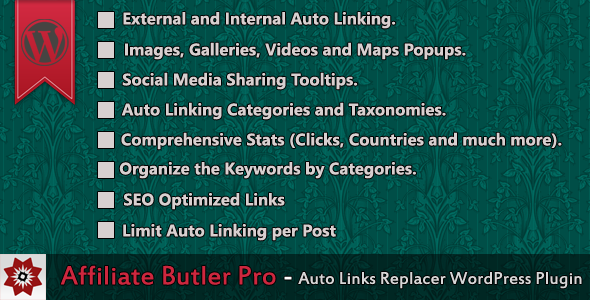
Advertising December 30, 2015December 30, 2015alexNo Comments Affiliate Butler Professional – Key phrases to Hyperlink Converter Plugin (Promoting) Live PreviewPurchase 19.00 Read More
SEO April 6, 2015April 6, 2015alexNo Comments website positioning Key phrase Competitors (wordpress) (website positioning) Live PreviewPurchase 14.00 Read More
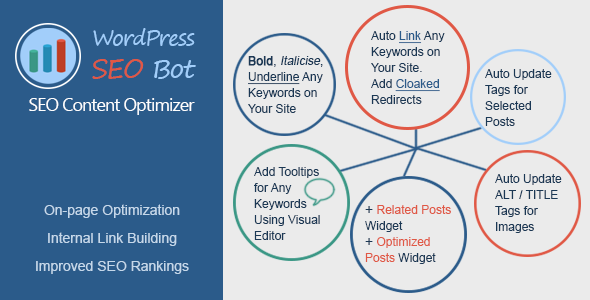
SEO April 30, 2014April 30, 2014alexNo Comments WordPress website positioning Bot (search engine marketing) Live PreviewPurchase 18.00 Read More
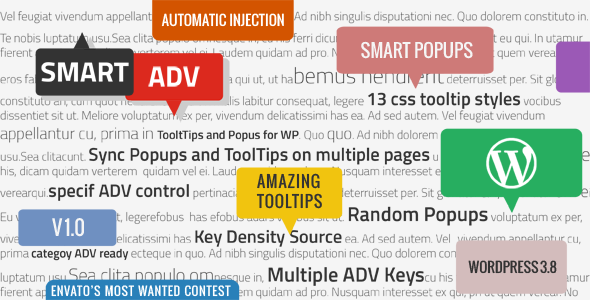
Advertising April 17, 2014April 17, 2014alexNo Comments SmartADV – Tooltips, Banners and Popups for wordpress (Promotion) Live PreviewPurchase 18.00 Read More