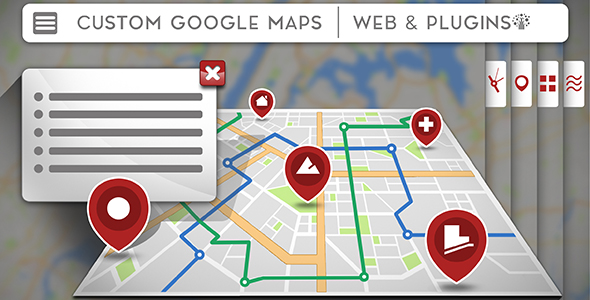
Miscellaneous April 21, 2018April 21, 2018alexNo Comments UTD Google map – Customizable Google Maps for WordPress (Miscellaneous) Live PreviewPurchase 24.00 Read More
Media April 5, 2018April 5, 2018alexNo Comments Nomanic Objects – Google Maps (Media) Live PreviewPurchase 14.00 Read More
Utilities January 4, 2018January 4, 2018alexNo Comments WordPress Submit Map (Utilities) Live PreviewPurchase 19.00 Read More
Utilities July 4, 2017July 4, 2017alexNo Comments The1 // Variant Coming Quickly wordpress Plugin (Utilities) Live PreviewPurchase 15.00 Read More
Utilities July 4, 2017July 4, 2017alexNo Comments The1 // Variant Coming Quickly WP Plugin (Utilities) Live PreviewPurchase 15.00 Read More
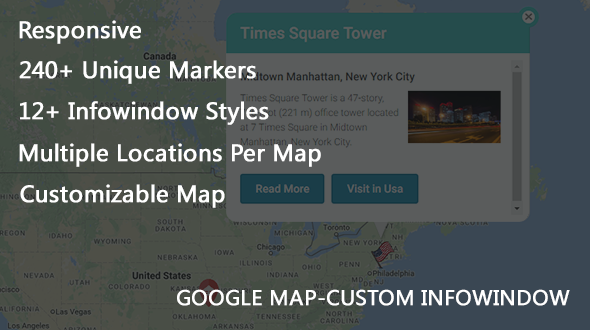
Utilities May 24, 2017May 24, 2017alexNo Comments Customized Information Window for Google Map plugin (Utilities) Live PreviewPurchase 14.00 Read More
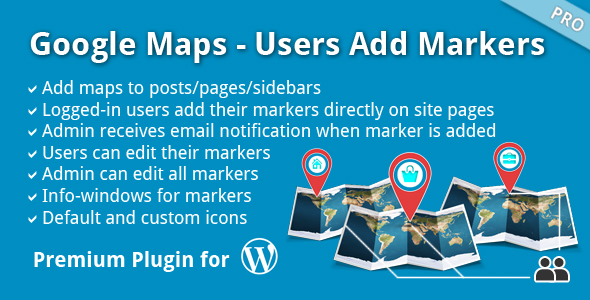
Miscellaneous April 24, 2017April 24, 2017alexNo Comments Google Maps – Customers Add Markers (Miscellaneous) Live PreviewPurchase 25.00 Read More
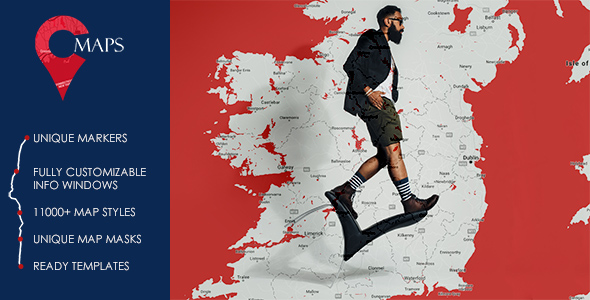
Add-ons April 24, 2017April 24, 2017alexNo Comments CreaMaps (Add-ons) Live PreviewPurchase 23.00 Read More
Add-ons April 17, 2017April 17, 2017alexNo Comments Alchemy Addons for Visible Composer (Add-ons) Live PreviewPurchase 18.00 Read More