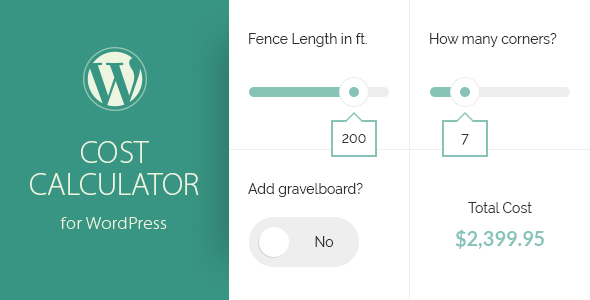
Forms April 4, 2018April 4, 2018alexNo Comments Price Calculator For WordPress (Kinds) Live PreviewPurchase 29.00 Read More
Social networking August 29, 2017August 29, 2017alexNo Comments MeMeMe – Final Meme Generator wordpress Plugin (Social Networking) Live PreviewPurchase 23.00 Read More
Interface Elements August 11, 2017August 11, 2017alexNo Comments Hreflang Flags (Interface Parts) Live PreviewPurchase 14.00 Read More
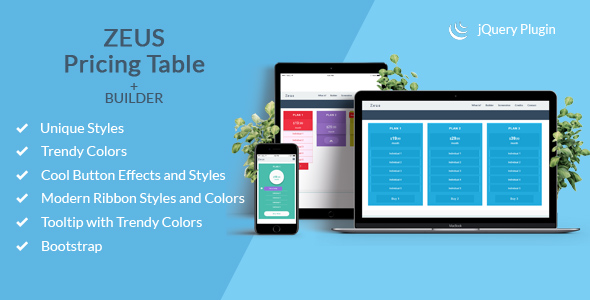
Advertising February 28, 2017February 28, 2017alexNo Comments Zeus – Pricing Desk jQuery Plugin with Builder (Miscellaneous) Live PreviewPurchase 8.00 Read More
Miscellaneous January 30, 2017alexNo Comments Felony Assistant Professional – EU Cookie Regulation, Phrases & Privateness Generator (Miscellaneous) Live PreviewPurchase 16.00 Read More
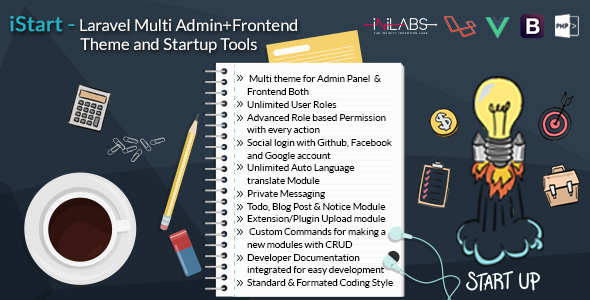
Forms December 10, 2016December 10, 2016alexFormsNo Comments iStart – Laravel Multi Admin+Frontend Theme and Startup Instruments (PHP Scripts) Live PreviewPurchase 35.00 Read More
Add-ons December 6, 2016December 6, 2016alexAdd-onsNo Comments CRUD GENERATOR – SXIMO UI PLATFORM (PHP Scripts) Live PreviewPurchase 22.00 Read More
Utilities September 30, 2016alexNo Comments Picture Core – WordPress Picture Processing Plugin (Utilities) Live PreviewPurchase 25.00 Read More
Utilities September 30, 2016September 30, 2016alexNo Comments Picture Core – WordPress Picture Processing Plugin (Utilities) Live PreviewPurchase 25.00 Read More