Forms November 3, 2018alexNo Comments Ninja Forms Email Add On (Forms) Live PreviewPurchase 20.00 Read More
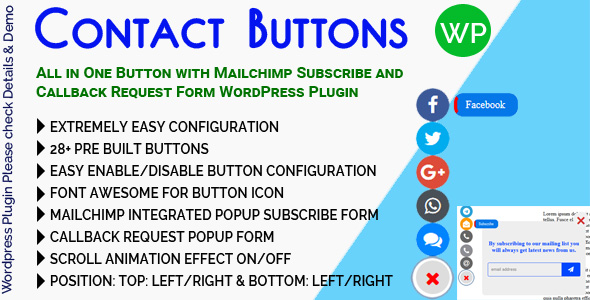
Interface Elements August 21, 2018alexNo Comments Contact Buttons – All in One Button with Mailchimp Subscribe and Callback Request Form for WordPress (Interface Elements) Live PreviewPurchase 15.00 Read More
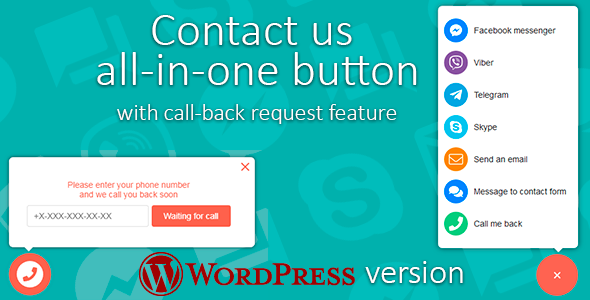
Widgets July 18, 2018alexNo Comments Contact us all-in-one button with callback request feature for WordPress (Widgets) Live PreviewPurchase 18.00 Read More
Forms June 25, 2018alexNo Comments Launchpress: Upcoming Site Launch WP Plugin with Subscription Management & Double Opt-in (Forms) Live PreviewPurchase 22.00 Read More
Miscellaneous June 21, 2018alexNo Comments Lifelabs Events (Miscellaneous) Live PreviewPurchase 21.00 Read More
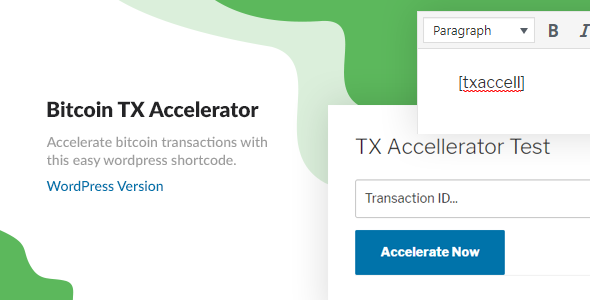
Miscellaneous April 15, 2018alexNo Comments Bitcoin Transaction Accelerator – WordPress Plugin (Miscellaneous) Live PreviewPurchase 35.00 Read More
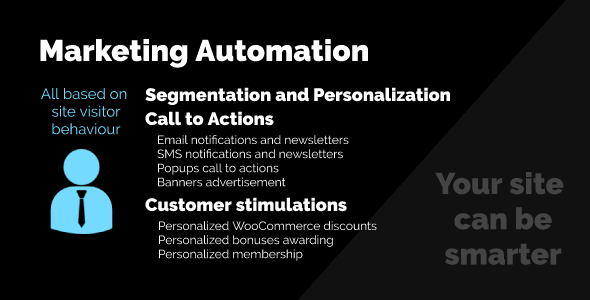
Newsletters February 20, 2018February 20, 2018alexNo Comments Advertising and marketing Automation by way of AZEXO (Newsletters) Live PreviewPurchase 49.00 Read More
Newsletters February 14, 2018February 14, 2018alexNo Comments Acelle Join – WordPress Plugin for Acelle Mail (Newsletters) Live PreviewPurchase 13.00 Read More
Membership January 3, 2018alexNo Comments Wow Login – electronic mail and social login (Membership) Live PreviewPurchase 20.00 Read More
Add-ons December 19, 2017alexAdd-onsNo Comments Lead Magnets professional (Add-ons) Live PreviewPurchase 9.00 Read More