
Tested with WordPress 4.9
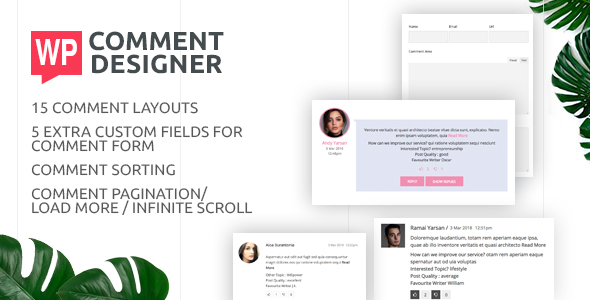
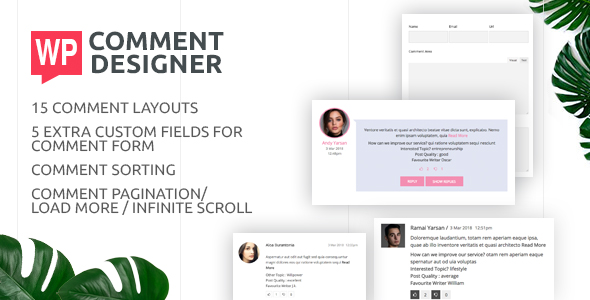
WP Comment Designer is an Ultimate WordPress Plugins thats helps change the layout of the WordPress comments and comment form. You can also add 5 extra custom fields to your comment form, namely, text area, text field, radio button, checkbox and select option. The form fields, both default and custom, are rearrangeable . Also, The plain comment area can be replaced with the WYSIWYG Editor.
This fully responsive and RTL compatible plugin also allows user to edit their comment within a sepecific time frame, sort the comments based on the most recent and most liked comment. This Plugin makes your comment section more fun and engaging with its its advanced features such as comment pagination, basic comment rating options, ability to hide individual comment thread and options to display only certain part of the lengthy comments . Admins can also make the comment form display on trigger, allow
user registration and moderate the comments using Comment Flagging options . All in all, It is an easy to use plugin that works on replacing the plain WordPress Comments Section with a more attractive and interactive one.

Advanced Features List
- Display Options
- Enable/ Disable WP Comment Designer
- Enable/ Disable Comment Sorting
- Show/Hide Comment Child
- Show/Hide Total Comment Number
- Enable/ Disable Comment Rating
- Flag Comments
- Assign who can flag the comments besides the Admin
- Comment Sorting Based on most recent and most liked
- Different attractive templates
- Beautifully designed 15 different templates for comments listing and comment form to select from
- Comment Breaking
- Display only certain part of the long comments and add Read More trigger button
- Edit Comments
- Allow users to edit their comments (time frame provided by Admin)
- Comment Pagination
- Page Number
- Load More
- Infinite Scroll
- User Registration Options
- Explicit
- User Selection
- Display Comment Form
- Always Show
- Show on trigger
- Inline
- Popup
- Custom Comment Fields
- Text Field
- Text Area
- Radio Button
- Checkbox
- Select Option
- Translation Ready & Fully Responsive
- RTL Compatible
- Tested on all modern browsers
- Touch Friendly
- WordPress 4.9 ready!
- Forum Support From here.
- Dedicated Support Forum – You can contact us through our support forum through https://accesspressthemes.com/support
- Online Chat Support
- AccessPress Anonymous Post PRO
- AccessPress Social Icons Pro
- AccessPress Social Pro
- AccessPress Twitter Feed Pro
- AccessPress Pinterest Pro
- AccessPress Social Auto Post
- AccessPress Social Login
- WP Ultimate Social
- AccessPress Instagram Feed Pro
- Ultimate Form Builder
- AP – Custom Testimonials for WordPress
- WP Floating Menu Pro – One page navigator, sticky menu for WordPress
- WP1 Slider Pro – WordPress Responsive Touch Slider for a Layman
- Smart Logo Showcase – Responsive Clients Logo Gallery Plugin for WordPress
- AP Pricing Tables – Responsive Pricing Table Builder Plugin for WordPress
- Apex Notification Bar – Responsive Notification Bar Plugin for WordPress
- Ultimate Author Box – Responsive Post/Article Author Section Plugin for WordPress
- WP Popup Banners Pro – Ultimate popup plugin for WordPress
- WP Media Manager – The Easiest WordPress Media Manager Plugin
Configuration Settings :

Display Settings

Customization Options :

Custom Text Settings:

Lifetime Dedicated Support
– You can find us anytime when you have some queries, problems or with any valuable suggestions for plugin or us. You can find us through following ways:
Constant Free Upgrades
– Not fixed on dates, but we assure you to provide you new updates and feature upgrade in the plugin at regular basis.


