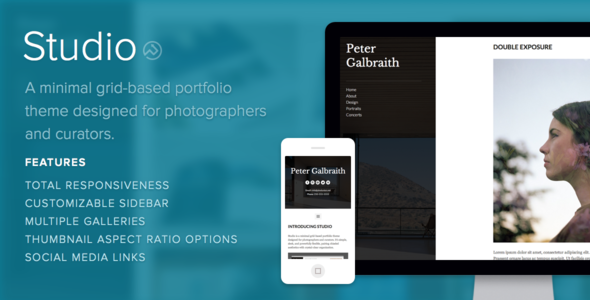
Blog / Magazine May 15, 2014May 15, 2014alexNo Comments Studio (Wpblog / Journal) Live PreviewPurchase 35.00 Read More
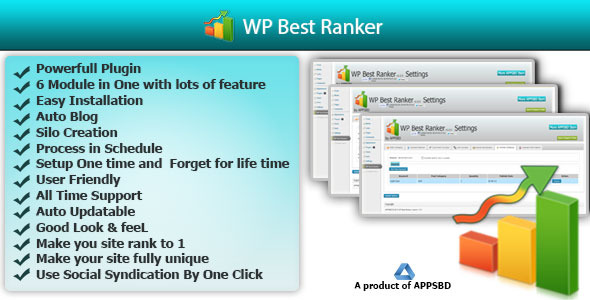
SEO December 6, 2013December 6, 2013alexNo Comments WordPress Easiest Ranker (web optimization) Live PreviewPurchase 17.00 Read More