Blog / Magazine March 21, 2017March 21, 2017alexNo Comments Common – Daring Content material Weblog & On-line Journal WordPress Theme (Weblog / Journal) Live PreviewPurchase 49.00 Read More
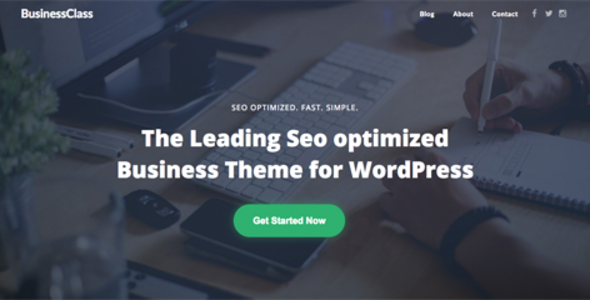
Corporate December 30, 2016December 30, 2016alexNo Comments BusinessClass – Search engine optimization Optimized & Web optimization Pleasant Company Industry Theme (Company) Live PreviewPurchase 56.00 Read More
Miscellaneous October 21, 2016October 21, 2016alexNo Comments KnowledgeBee – HelpDesk Plugin (Miscellaneous) Live PreviewPurchase 24.00 Read More
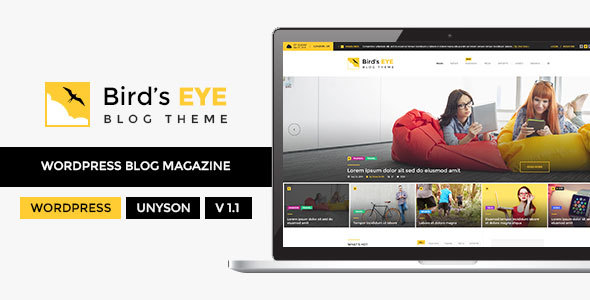
Blog / Magazine October 3, 2016October 3, 2016alexNo Comments Birds Eye – Blogging and Journal WordPress Theme (Blogging / Journal) Live PreviewPurchase 55.00 Read More
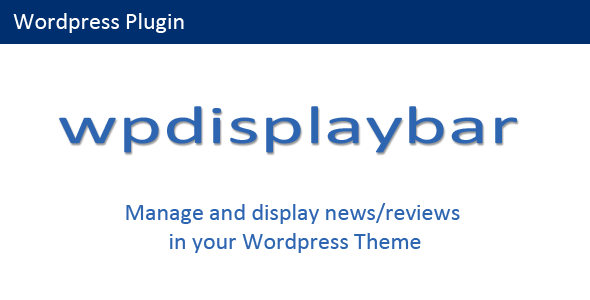
Miscellaneous June 2, 2014June 2, 2014alexNo Comments WP Show Bar (Miscellaneous) Live PreviewPurchase 13.00 Read More
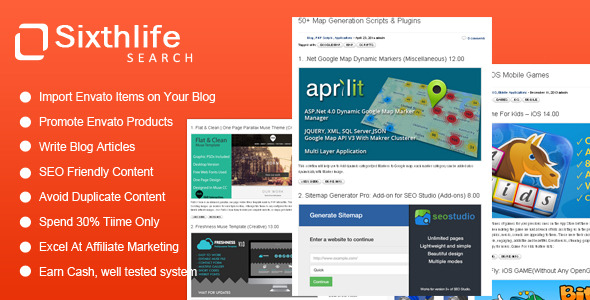
Utilities May 1, 2014May 1, 2014alexNo Comments Sixthlife Search (Utilities) Live PreviewPurchase 16.00 Read More
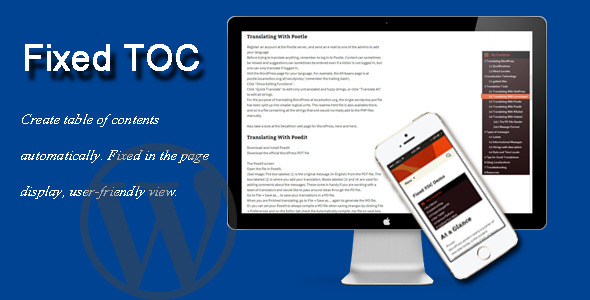
Interface Elements March 26, 2014March 26, 2014alexNo Comments Fastened TOC (Interface Parts) Live PreviewPurchase 11.00 Read More
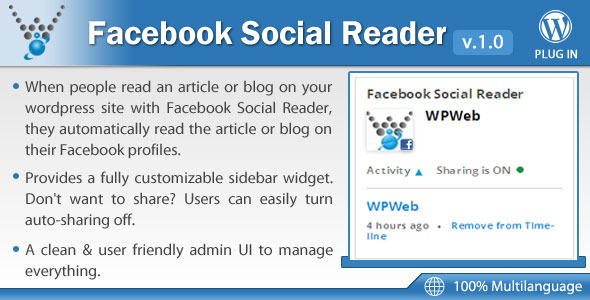
Social networking January 5, 2014January 5, 2014alexNo Comments Fb Social Reader – WordPress Plugin (Social Networking) Live PreviewPurchase 14.00 Read More
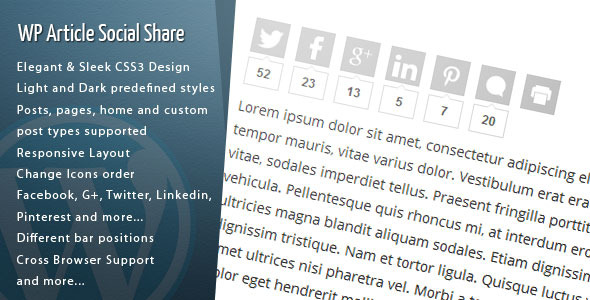
Social networking December 6, 2013December 6, 2013alexNo Comments wordpress Article Social Share (Social Networking) Live PreviewPurchase 10.00 Read More
Interface Elements December 6, 2013December 6, 2013alexNo Comments Indexa – Desk of Contents for WordPress (Interface Parts) Live PreviewPurchase 15.00 Read More