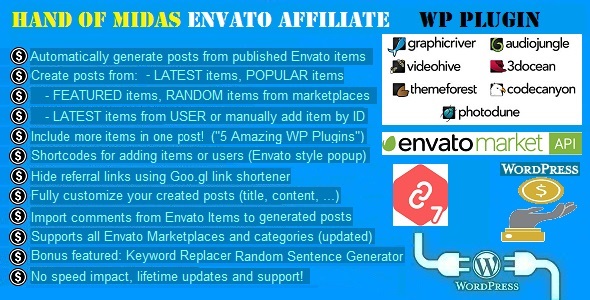
Miscellaneous February 2, 2017February 2, 2017alexNo Comments Hand of Midas – Envato Affiliate Cash Generator Plugin (Miscellaneous) Live PreviewPurchase 30.00 Read More
Blog / Magazine January 25, 2017January 25, 2017alexNo Comments Buggy – Journal & Wpblog WordPress Topics (Blogging / Journal) Live PreviewPurchase 19.00 Read More
Blog / Magazine January 5, 2017January 5, 2017alexNo Comments Juliet – A Wpblog & Keep Theme for WordPress (Weblog / Journal) Live PreviewPurchase 49.00 Read More
Corporate December 30, 2016December 30, 2016alexNo Comments BusinessClass – Search engine optimization Optimized & Web optimization Pleasant Company Industry Theme (Company) Live PreviewPurchase 56.00 Read More
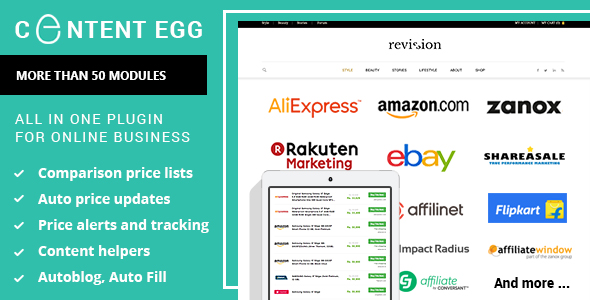
Advertising December 22, 2016December 22, 2016alexNo Comments Content material Egg – multi functional plugin for Affiliate, Worth Comparability, Deal web sites (Promoting) Live PreviewPurchase 28.00 Read More
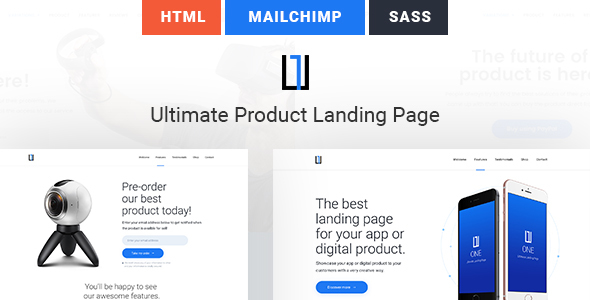
Frameworks December 18, 2016December 18, 2016alexNo Comments One – Final Product Touchdown Web page (Touchdown Pages) Live PreviewPurchase 17.00 Read More
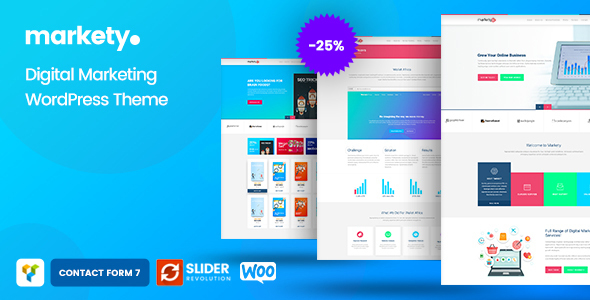
Blog / Magazine December 14, 2016December 14, 2016alexNo Comments Markety – search engine optimisation & Digital Advertising WordPress Theme (Advertising and marketing) Live PreviewPurchase 45.00 Read More
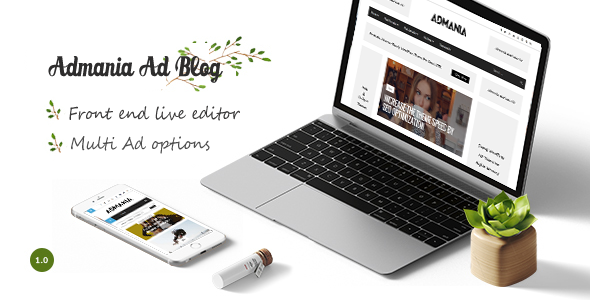
Blog / Magazine November 30, 2016November 30, 2016alexNo Comments Admania – Highest AD Optimized WordPress Theme For Adsense & Affiliate Lovers (Blogging / Journal) Live PreviewPurchase 17.00 Read More
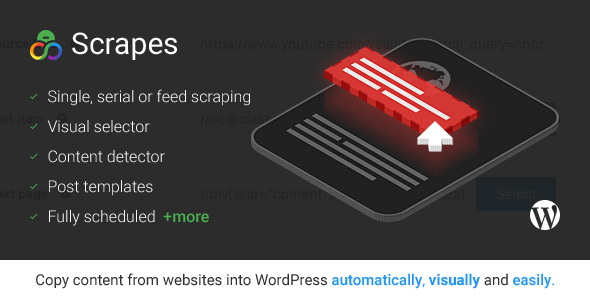
Utilities November 22, 2016November 22, 2016alexNo Comments Scrapes – Net scraper plugin for WordPress (Utilities) Live PreviewPurchase 25.00 Read More
Utilities November 15, 2016November 15, 2016alexNo Comments wordpress Put up Instruments – Totally computerized search engine marketing helper on your auto blogging plugin! (Utilities) Live PreviewPurchase 24.00 Read More