Forms March 17, 2014March 17, 2014alexNo Comments MailChimp Social WordPress (Varieties) Live PreviewPurchase 6.00 Read More
Add-ons March 16, 2014March 16, 2014alexNo Comments Modal Popup Field For Visible Composer (Add-ons) Live PreviewPurchase 10.00 Read More
Media March 16, 2014March 16, 2014alexNo Comments wordpress Professional Video Analyzer (Media) Live PreviewPurchase 16.00 Read More
Forms March 15, 2014March 15, 2014alexNo Comments Paypal for Arforms (Kinds) Live PreviewPurchase 10.00 Read More
Add-ons March 14, 2014March 14, 2014alexNo Comments Ribbon Panel WordPress Plugin (Add-ons) Live PreviewPurchase 10.00 Read More
Interface Elements March 14, 2014March 14, 2014alexNo Comments Toughen Middle Professional (Interface Parts) Live PreviewPurchase 16.00 Read More
Utilities March 14, 2014March 14, 2014alexNo Comments WordPress Countie: Responsive Countdown Touchdown Web page (Utilities) Live PreviewPurchase 13.00 Read More
Utilities March 14, 2014March 14, 2014alexNo Comments Visio – Responsive Coming Quickly WordPress Plugin (Utilities) Live PreviewPurchase 14.00 Read More
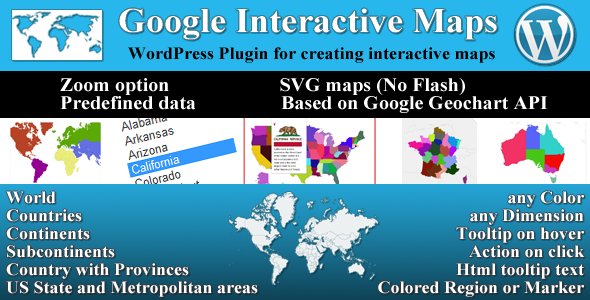
Utilities March 14, 2014March 14, 2014alexNo Comments Google Interactive Maps (Utilities) Live PreviewPurchase 18.00 Read More
Utilities March 13, 2014March 13, 2014alexNo Comments Behance Portfolio for WordPress (Utilities) Live PreviewPurchase 13.00 Read More