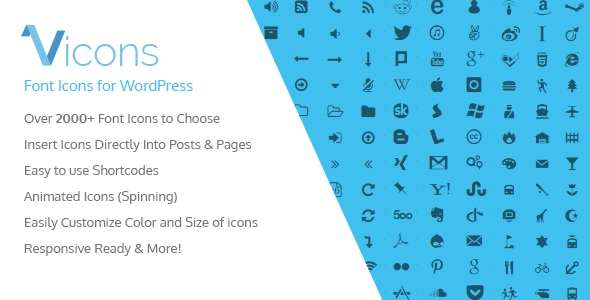
Utilities January 12, 2016January 12, 2016alexNo Comments Vicons – Font Icons for WordPress (Utilities) Live PreviewPurchase 18.00 Read More
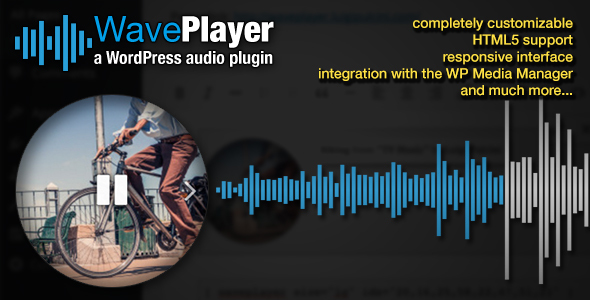
Media January 12, 2016January 12, 2016alexNo Comments WavePlayer – a WordPress audio plugin (Media) Live PreviewPurchase 16.00 Read More
Social networking January 12, 2016January 12, 2016alexNo Comments Popscroll: Social Popup Footer Field – Simply scroll down (Social Networking) Live PreviewPurchase 16.00 Read More
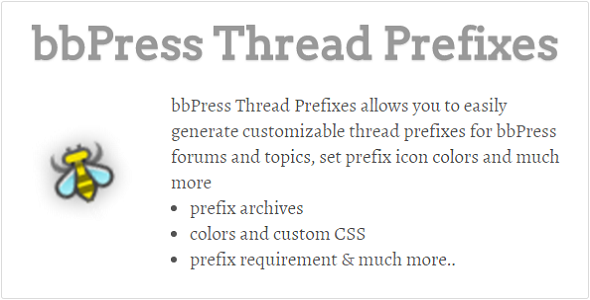
Forums January 11, 2016January 11, 2016alexNo Comments bbPress Thread Prefixes (Boards) Live PreviewPurchase 15.00 Read More
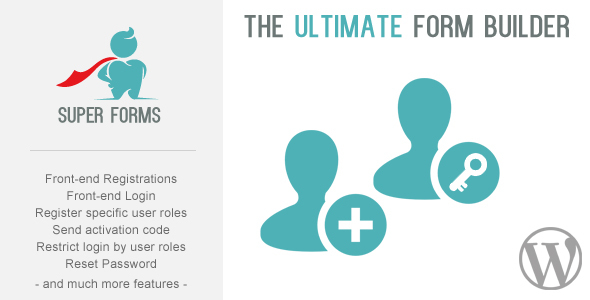
Add-ons January 11, 2016January 11, 2016alexNo Comments Entrance-finish Register & Login (Add-ons) Live PreviewPurchase 12.00 Read More
Advertising January 10, 2016January 10, 2016alexNo Comments Supply CountDown Timer Professional WordPress Plugin for Situations/Merchandise/Bargains (Promoting) Live PreviewPurchase 16.00 Read More
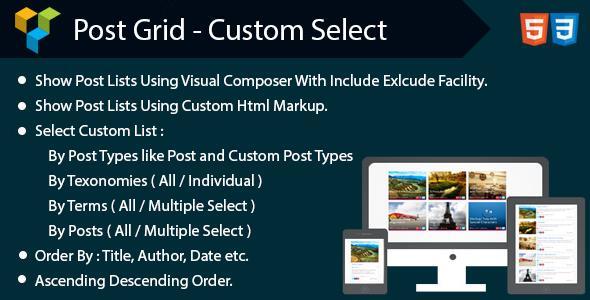
Add-ons January 10, 2016January 10, 2016alexNo Comments Publish Grid – Customized Choose & Customized Design (Add-ons) Live PreviewPurchase 15.00 Read More
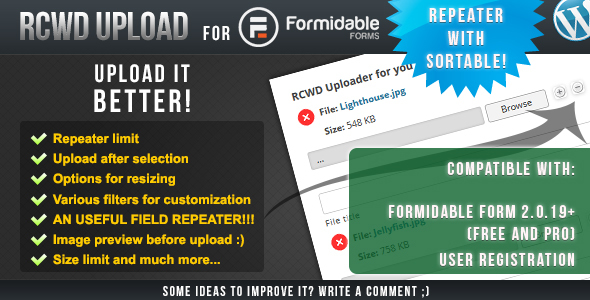
Add-ons January 10, 2016January 10, 2016alexNo Comments Rcwd Add for Ambitious Type (Add-ons) Live PreviewPurchase 23.00 Read More
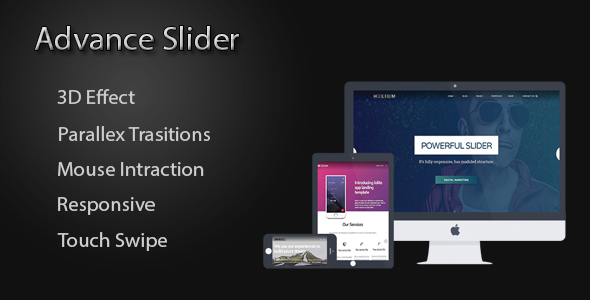
Add-ons January 10, 2016January 10, 2016alexNo Comments Layer – Enhance Slider Extension (Add-ons) Live PreviewPurchase 12.00 Read More
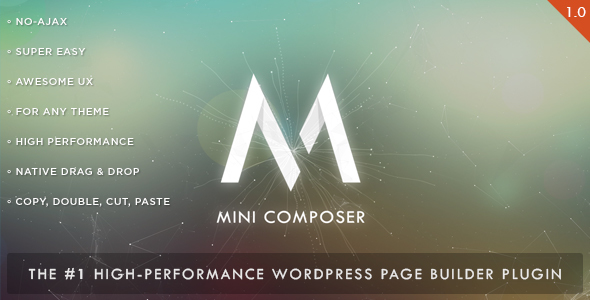
Utilities January 10, 2016alexNo Comments Mini Composer: Excessive-Efficiency wordpress Web page Builder Plugin (Utilities) Live PreviewPurchase 32.00 Read More