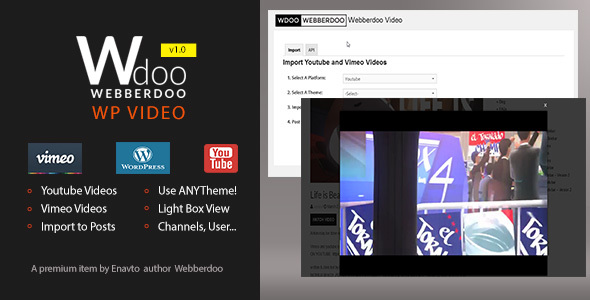
Media March 9, 2016March 9, 2016alexNo Comments Wdoo WordPress Video – Import Youtube and Vimeo Movies to Put up (Media) Live PreviewPurchase 20.00 Read More
Add-ons March 8, 2016March 8, 2016alexNo Comments Emblem Show off for Cornerstone (Add-ons) Live PreviewPurchase 15.00 Read More
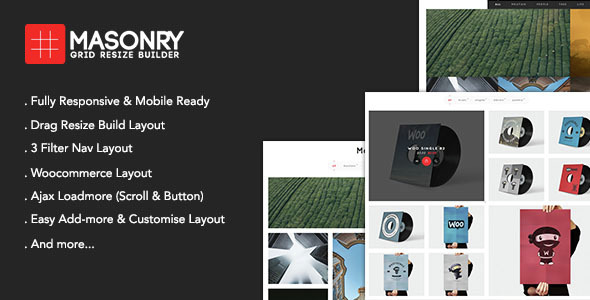
Add-ons March 8, 2016March 8, 2016alexNo Comments Masonry Grid Resize Builder – WP Add-on VisualComposer (Add-ons) Live PreviewPurchase 16.00 Read More
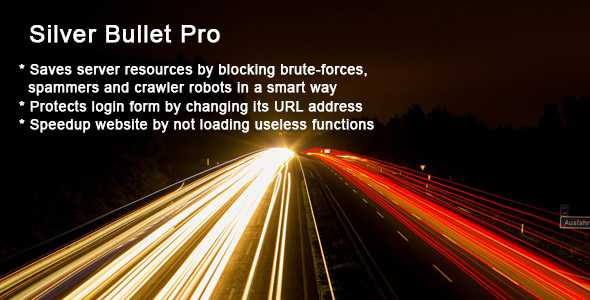
Utilities March 8, 2016March 8, 2016alexNo Comments Silver Bullet Professional (Utilities) Live PreviewPurchase 20.00 Read More
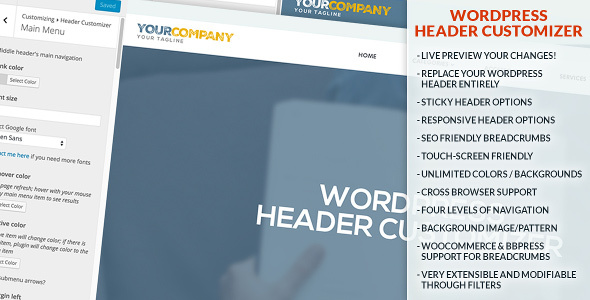
Utilities March 8, 2016March 8, 2016alexNo Comments WordPress Header Customizer (Utilities) Live PreviewPurchase 22.00 Read More
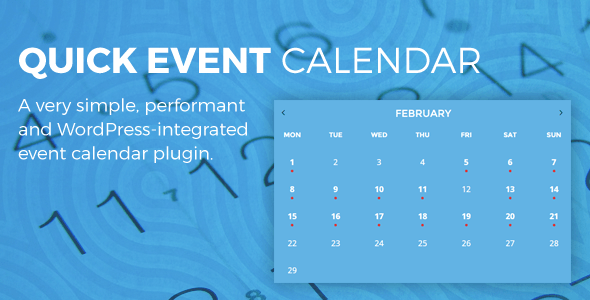
Calendars March 8, 2016alexNo Comments Fast Experience Calendar (Calendars) Live PreviewPurchase 19.00 Read More
Media March 8, 2016March 8, 2016alexNo Comments CashMedia – Promote Your Video and Audio Media Recordsdata (Media) Live PreviewPurchase 30.00 Read More
Membership March 8, 2016March 8, 2016alexNo Comments Grasp Modal LogIn PopUp (Membership) Live PreviewPurchase 19.00 Read More
Add-ons March 8, 2016alexNo Comments Layer Pictures – Visible Composer Addons (Add-ons) Live PreviewPurchase 14.00 Read More
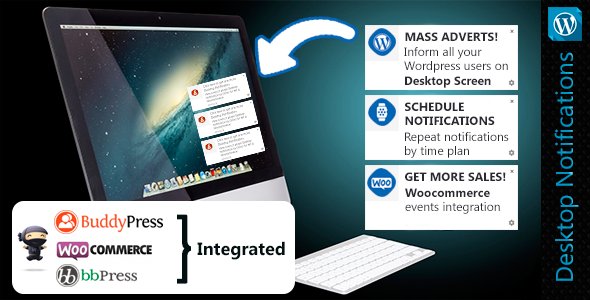
Utilities March 8, 2016March 8, 2016alexNo Comments wordpress Computer Notifications via Emres (Utilities) Live PreviewPurchase 18.00 Read More