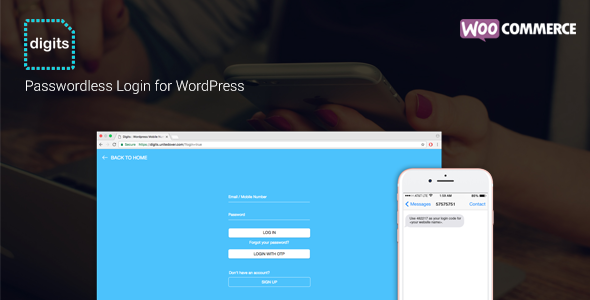
Add-ons April 30, 2017April 30, 2017alexNo Comments Digits : WordPress Cell Quantity Signup and Login (Add-ons) Live PreviewPurchase 29.00 Read More
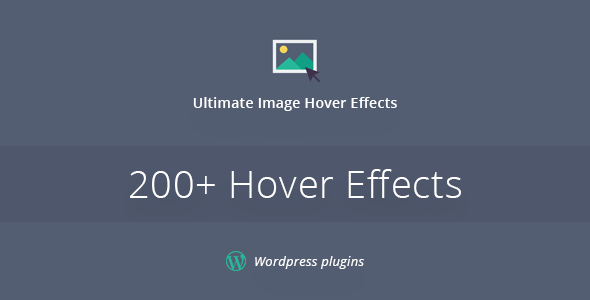
Interface Elements April 27, 2017April 27, 2017alexNo Comments Final Picture Hover Results Plugin For WordPress (Interface Parts) Live PreviewPurchase 17.00 Read More
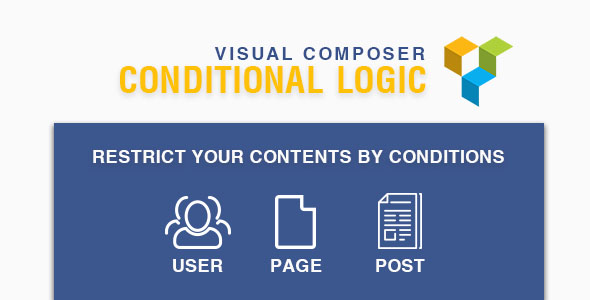
Add-ons April 27, 2017April 27, 2017alexNo Comments Visible Composer: Conditional Good judgment (Add-ons) Live PreviewPurchase 19.00 Read More
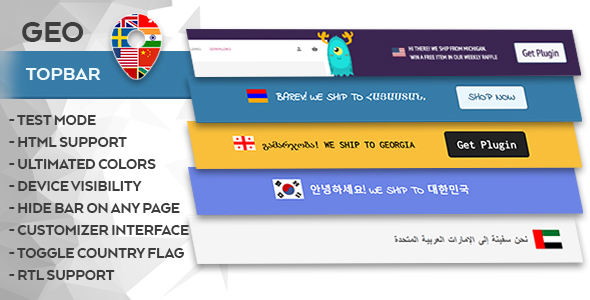
Advertising April 27, 2017April 27, 2017alexNo Comments GEO High Bar (Promoting) Live PreviewPurchase 14.00 Read More
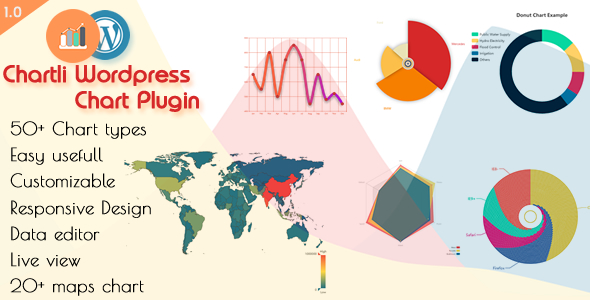
Utilities April 27, 2017April 27, 2017alexNo Comments Chartli Wordprees Interactive Chart (Utilities) Live PreviewPurchase 30.00 Read More
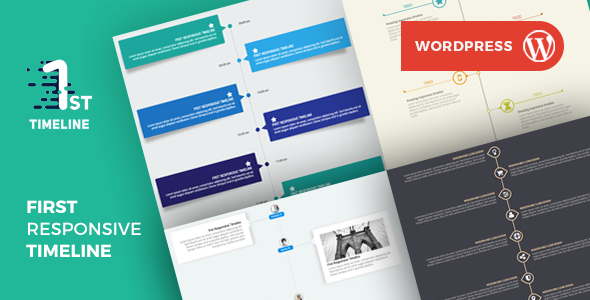
Interface Elements April 25, 2017April 25, 2017alexNo Comments First-Responsive WP Timeline Plugin (Interface Parts) Live PreviewPurchase 24.00 Read More
Social networking April 25, 2017April 25, 2017alexNo Comments Smart4y Share Picture – Responsive WP Plugin (Social Networking) Live PreviewPurchase 12.00 Read More
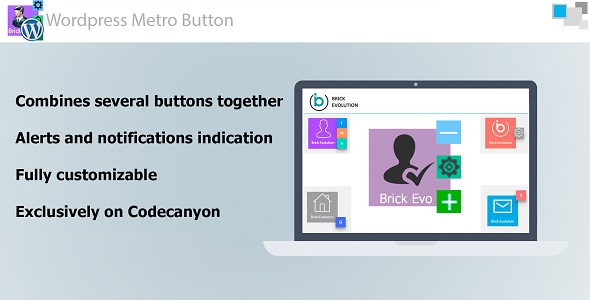
Interface Elements April 24, 2017alexNo Comments Metro Button WordPress with Interactive Notification Indication and Sub-Buttons (Interface Components) Live PreviewPurchase 7.00 Read More
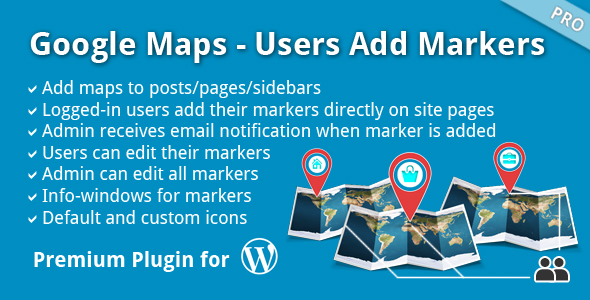
Miscellaneous April 24, 2017April 24, 2017alexNo Comments Google Maps – Customers Add Markers (Miscellaneous) Live PreviewPurchase 25.00 Read More
Add-ons April 24, 2017April 24, 2017alexNo Comments Final Picture Hover Impact For Cornerstone (Add-ons) Live PreviewPurchase 17.00 Read More