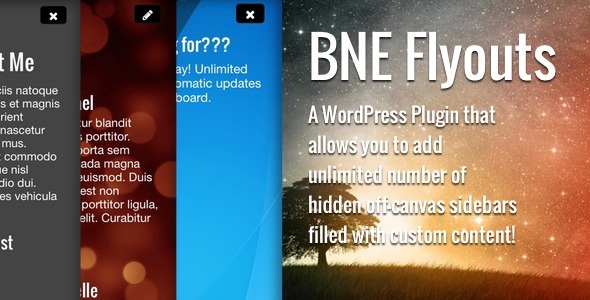
Interface Elements May 29, 2014May 29, 2014alexNo Comments Flyouts – Off Canvas Customized Content material for WordPress (Interface Components) Live PreviewPurchase 15.00 Read More
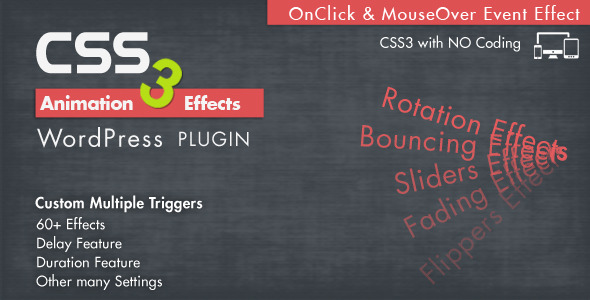
Interface Elements May 20, 2014May 20, 2014alexNo Comments Animation CSS3 Results wordpress Plugin (Interface Components) Live PreviewPurchase 13.00 Read More
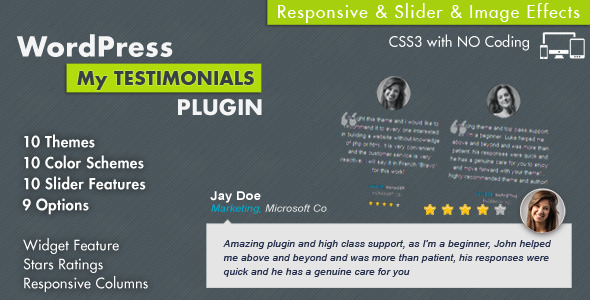
Interface Elements May 12, 2014May 12, 2014alexNo Comments Testimonials Exhibit wordpress Plugin (Interface Parts) Live PreviewPurchase 14.00 Read More
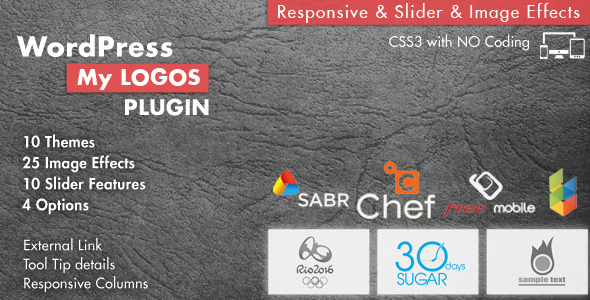
Interface Elements April 10, 2014April 10, 2014alexNo Comments Certainly My Emblems for WordPress (Interface Parts) Live PreviewPurchase 14.00 Read More
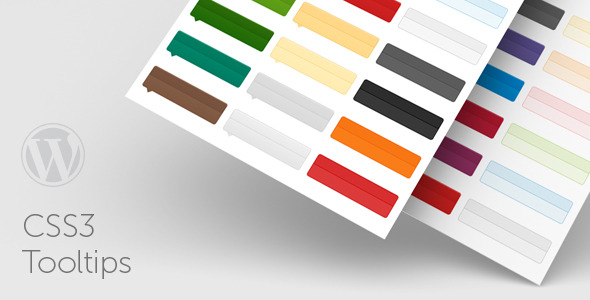
Interface Elements April 9, 2014April 9, 2014alexNo Comments CSS3 Tooltips For WordPress (Interface Parts) Live PreviewPurchase 13.00 Read More
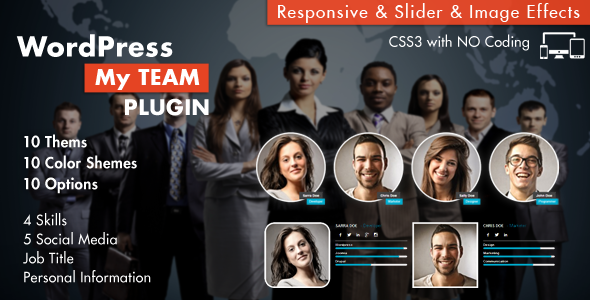
Interface Elements April 4, 2014April 4, 2014alexNo Comments Certainly My Group (Interface Parts) Live PreviewPurchase 14.00 Read More
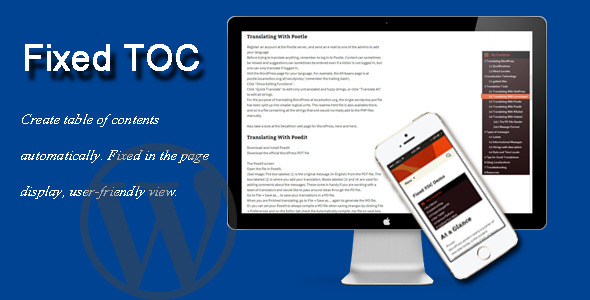
Interface Elements March 26, 2014March 26, 2014alexNo Comments Fastened TOC (Interface Parts) Live PreviewPurchase 11.00 Read More
Interface Elements March 17, 2014March 17, 2014alexNo Comments IconBox WP Plugin (Interface Parts) Live PreviewPurchase 16.00 Read More
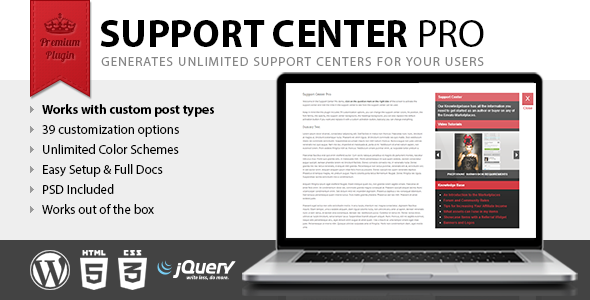
Interface Elements March 14, 2014March 14, 2014alexNo Comments Toughen Middle Professional (Interface Parts) Live PreviewPurchase 16.00 Read More
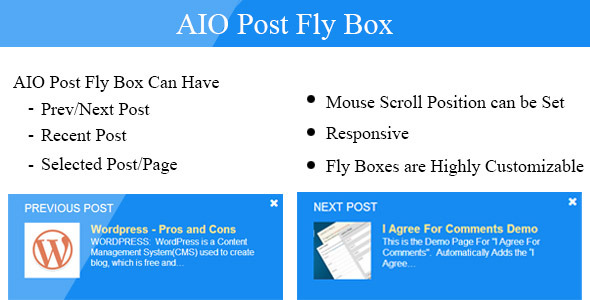
Interface Elements February 21, 2014February 21, 2014alexNo Comments AIO Put up Fly Field: Prev Subsequent, Contemporary, Chosen Publish (Interface Components) Live PreviewPurchase 12.00 Read More