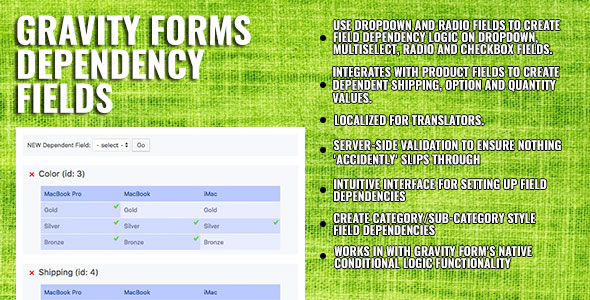
Forms November 16, 2016November 16, 2016alexNo Comments Gravity Varieties Dependency Fields (Varieties) Live PreviewPurchase 18.00 Read More
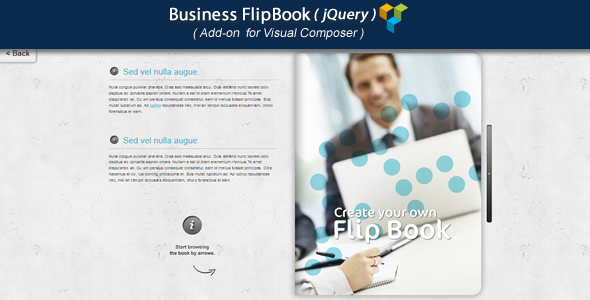
Add-ons November 16, 2016November 16, 2016alexNo Comments Visible Composer Add-on – Industry jQuery FlipBook (Add-ons) Live PreviewPurchase 20.00 Read More
Utilities November 15, 2016November 15, 2016alexNo Comments wordpress Put up Instruments – Totally computerized search engine marketing helper on your auto blogging plugin! (Utilities) Live PreviewPurchase 24.00 Read More
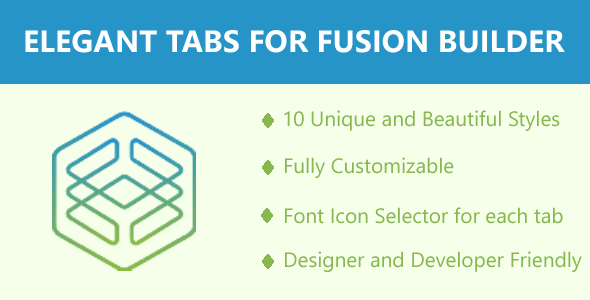
Add-ons November 15, 2016November 15, 2016alexNo Comments Dependent Tabs for Fusion Builder (Add-ons) Live PreviewPurchase 19.00 Read More
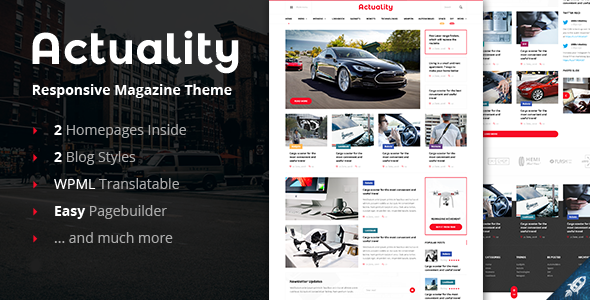
Blog / Magazine November 15, 2016November 15, 2016alexNo Comments Truth – Wpblog & Journal WordPress Theme (Blogging / Journal) Live PreviewPurchase 49.00 Read More
Corporate November 14, 2016November 14, 2016alexNo Comments New Begin – Trade & Advertising and marketing WordPress Theme (Company) Live PreviewPurchase 49.00 Read More
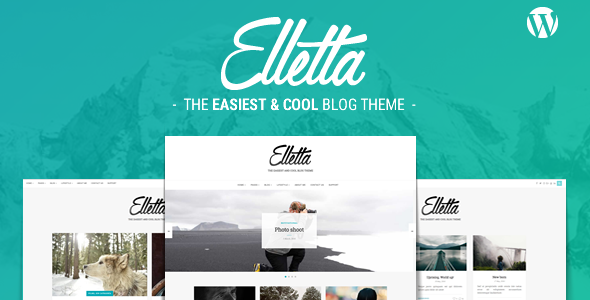
Blog / Magazine November 14, 2016November 14, 2016alexNo Comments Elletta – Wpblog Information & Journal Theme WordPress (Weblog / Journal) Live PreviewPurchase 49.00 Read More
BuddyPress November 14, 2016November 14, 2016alexNo Comments Anybuddy – Multi-Goal BuddyPress, bbPress, Group Information Theme (BuddyPress) Live PreviewPurchase 48.00 Read More
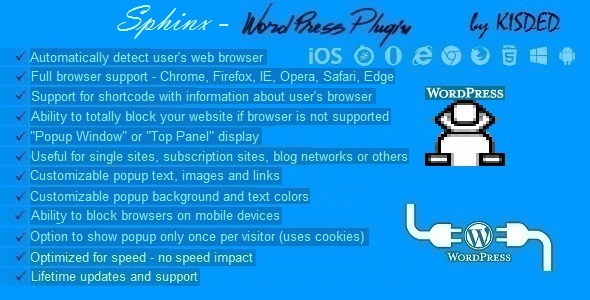
Miscellaneous November 14, 2016alexNo Comments Sphinx Browser Model Checker Plugin for WordPress (Miscellaneous) Live PreviewPurchase 11.00 Read More
Utilities November 14, 2016November 14, 2016alexNo Comments Internet-Seek the advice of-Professional – Consulting, Beef up And FAQ (Utilities) Live PreviewPurchase 22.00 Read More