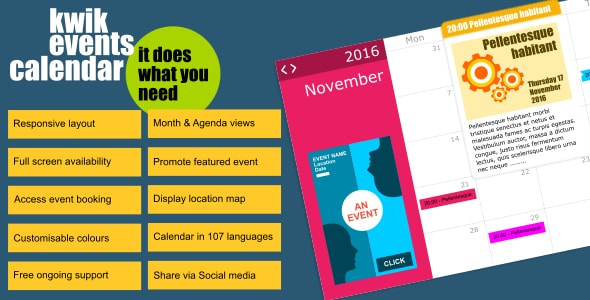
Social networking December 7, 2016December 7, 2016alexSocial networkingNo Comments Kwik Experience Calendar (Calendars) Live PreviewPurchase 15.00 Read More
Social networking December 7, 2016December 7, 2016alexSocial networkingNo Comments Bal – Electronic mail Publication Builder – jQuery Model (Challenge Administration Instruments 01.11.2016 -Added:ElementDragStart and ElementDragFinished events 1.0 Live PreviewPurchase 21.00 Read More
Social networking December 7, 2016alexSocial networkingNo Comments TWUN ItemShow – Show off jQuery Plugin (Sliders) Live PreviewPurchase 12.00 Read More
Social networking December 7, 2016December 7, 2016alexSocial networkingNo Comments imgClip — jQuery plugin for picture segmentation (Photography and Media) Live PreviewPurchase 22.00 Read More
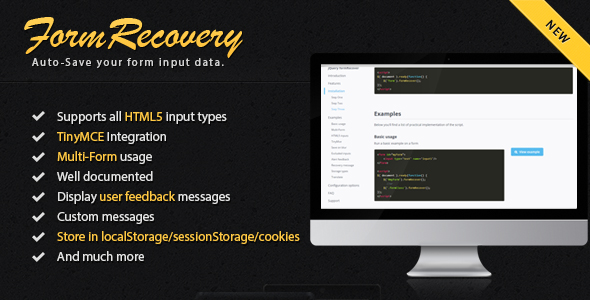
Social networking December 7, 2016December 7, 2016alexSocial networkingNo Comments jQuery Type Recuperate (Kinds) Live PreviewPurchase 8.00 Read More
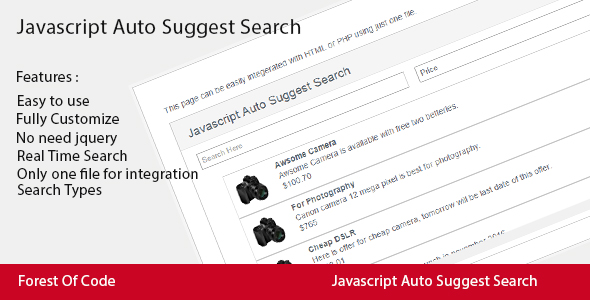
Social networking December 7, 2016December 7, 2016alexSocial networkingNo Comments Javascript Auto Recommend Search (JavaScript) Live PreviewPurchase 6.00 Read More
Social networking December 7, 2016December 7, 2016alexSocial networkingNo Comments Bookshelf jQuery Plugin (Pictures and Media) Live PreviewPurchase 8.00 Read More
Social networking December 7, 2016December 7, 2016alexSocial networkingNo Comments Simply Choose (Miscellaneous) Live PreviewPurchase 10.00 Read More
Social networking December 7, 2016alexSocial networkingNo Comments Single / More than one Customized Make a selection Part Plugin (Kinds) Live PreviewPurchase 10.00 Read More
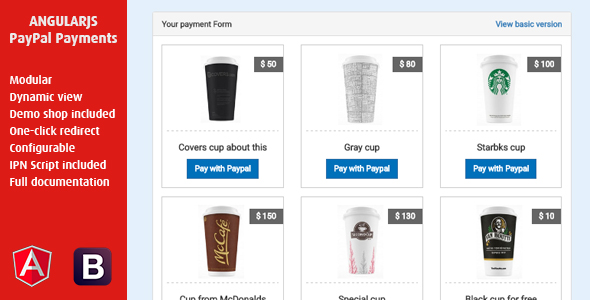
Social networking December 7, 2016December 7, 2016alexSocial networkingNo Comments AngularJS Paypal Funds (Miscellaneous) Live PreviewPurchase 7.00 Read More